Monday, June 30, 2014

Better When Shared

This week has been one filled with good news.  The best by far is that I'm now listed on Amazon and goodreads with the word "author" after my name.  You have to click the "more" button to see me, but I'm there!  The links have been up since Friday night, and I'm still pinching myself.  A few minutes ago, I sent the completed manuscript for this collection to the publisher.  But an endeavor like this is not without those who have worked diligently to make me look better than I really am.  I am making a number of these cards to send of to critique partners for their amazing help.


I used the sketch from Mojo Monday #352, and all supplies are CTMH.

Now I just need to catch up on all the things pushed aside for the past month--including graduation cards.

Thanks for sharing my joy!

Until next time,
Becca

Saturday, June 28, 2014

Hi!

Tonight is another bittersweet moment that occurs too often in the Army.  We are saying good-bye to the current commander's wife even as we look forward to getting to know the new command team.  My husband actually requested that I make a set of note cards for both the outgoing and incoming spouse.  Here's for the outgoing:


No challenges to enter on this one.  The phone shape was cut with my Cricut Explore using an image from the free trial.  I cut a gazillion of them and only have about 15 left. The background paper and stamp are CTMH (Ariana and It's Your Day, respectively).  I used a little Liquid Glass (aka Glossy Accents) to make the word bubble shine.

I have until Wednesday to come up with something for the incoming spouse. Stay tuned!

Until next time,
Becca


Thursday, June 26, 2014

Mix and Match

Happy Thursday!  It's Becca with my last post for DrPhilScraps.com.  So sad!  But I hope you will join me over at my blog for more inspiration and to follow my writing journey until publication in January.

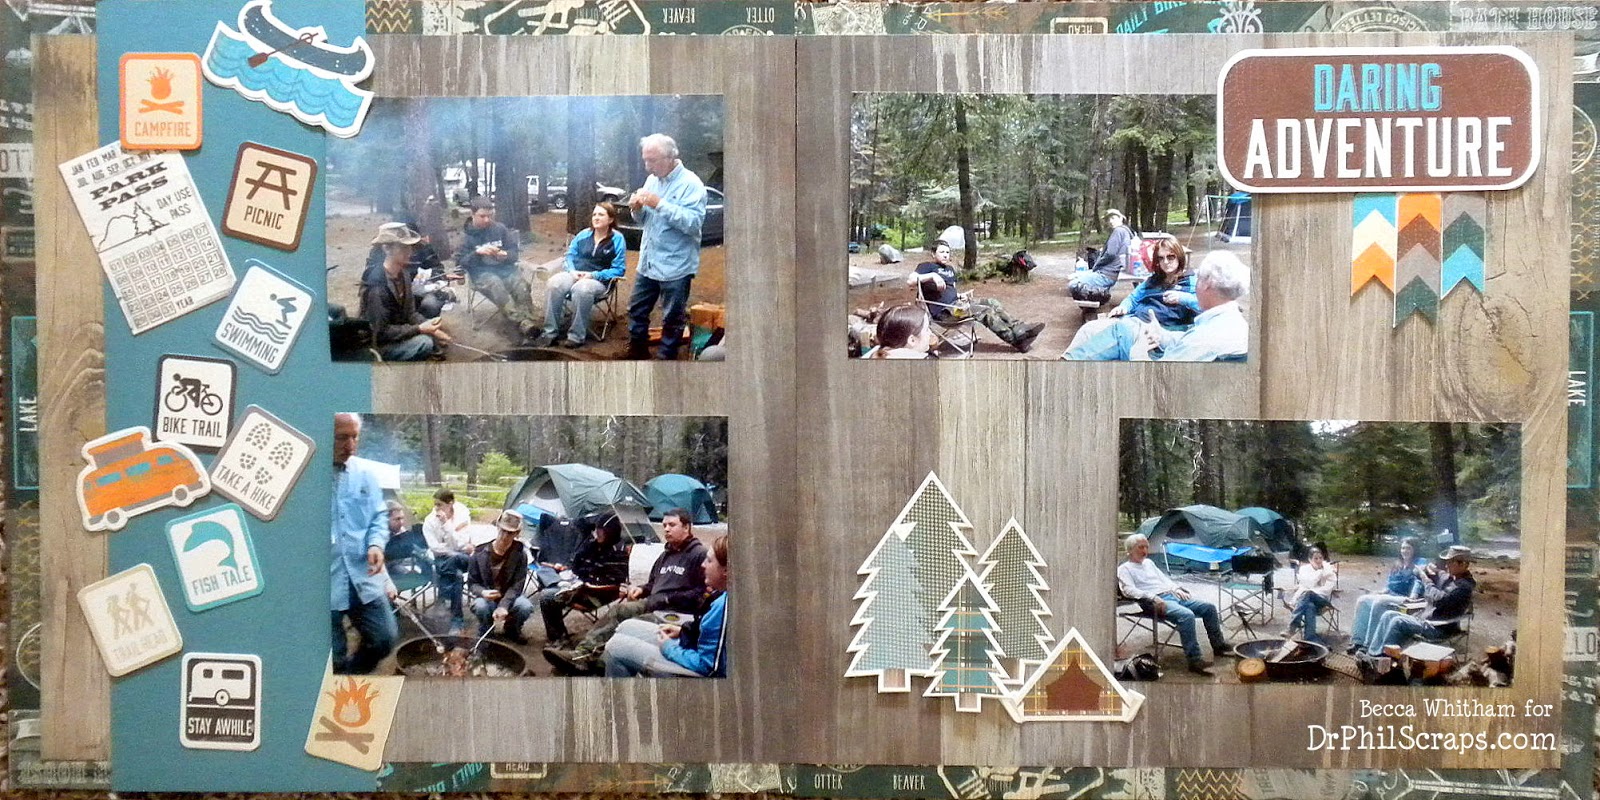
For this last post, I pulled out everything I've received as a DrPhilScraps Design Team member and laid it on the floor.  There was a LOT!  The idea was to look at various elements with a fresh perspective in order to mix and match with the Camper Crazy stamp set.

Here's card number one:

The mixing here was done with stamp sets.  I used three of them: Balloon Ride WOTG (sentiment), Timberline WOTG (tire track, stick figures, and arrow), and Camper Crazy (camper...like you really needed that pointed out).  Then I threw in embellishments from here, there, and everywhere.

I used ProPlayer paper.  Although it's still in the current catalogue, it's not featured.  I don't know about you, but when I don't see something used in examples (either in the catalogue while blog hopping), it gets pushed to the back of my crafting consciousness and languishes.  Pulling everything out refreshes your memory.

The layout of this card is from the "Wishes" Card Confidence Program.  It's called "Right Design" in the 8" x 3.5" category.  My card is actually 4" x 9" to fit into a standard business envelope.  The only adjustment I made to the proportions listed was in the long, thin sentiment strip.  It's 6" x 1".

If you'd like to see another card that combines Camper Crazy with Timberline WOTG, click here.  In my humble opinion, you can't purchase one stamp set without the other!

****************************
My second card comes in two parts.  Let me tell you the technique first so you know what to observe.

The idea of mixing various paper packs together isn't new.  But you can also force papers to match with a little creativity.  This is particularly handy when you want to match colors from a paper pack that has a custom color. For example, Skylark paper has a trendy, almost neon green color in it.  Though I predict Skylark will show up in the Fall/Winter CTMH catalogue, it will be discontinued one day.  If you want that custom color, what do you do?

Make it!

Here's Skylark and Timberline used together without altering the Timberline ZipStrip that has all the little words about camping printed on it.


And here it is again after I've altered the ZipStrip.


I used watercolor paints because they happened to be on my desk.  Another way would be to mix re-inkers like Honey and Pear then paint it over the paper.  You will get some curl in your paper, but let it dry, place it under a book overnight, then fasten it securely and all will be well.

Another way to alter the look of paper is to sponge or brayer over it.  The greyish tone of the woodgrain paper from Timberline could be warmed up with Honey, darkened with Chocolate, or tinted blue with Twilight.  The possibilities are endless.  Another way this technique comes in handy is when combining a white base paper with an off-white base paper.  Sponge or paint with a little Bamboo or Champagne and voila!

Before I go, my deepest thanks for allowing me to be a part of your crafty world for the past six months.  A special thanks to Dr. Phil for the honor of being a Design Team member.  As I hope you will join me on my blog (and want to know about my novella being published come January--wink, wink, nod, nod), I do not bid you good-bye, but leave you with my customary...

Until next time,
Becca

 Product List

Wednesday, June 25, 2014

Writer's World Wednesdays-Taking Notes and Humility

Much of my time is spent listening to the voices in my head.  And they don't stop talking just because I leave the keyboard. I keep note pads everywhere and, when I can't find one, I grab anything near to preserve the little tidbits that race around in my brain.  Here are a few from this week alone.


Now for the humility part...

Monday, the voices in my head were having a rip-roaring argument.  It was great stuff!  I was typing away as fast as I could to get it all down.  I didn't want to stop, but I needed to get to violin lessons and had ten minutes to get out the door.  Since I didn't think my students would appreciate being in a small room with a woman who hadn't taken a shower (and was still in her pajamas), I pushed away from the desk and ran downstairs to get ready.

Jeans, t-shirt, wet hair held back by a bandana, and no make-up.  Best I could do in ten minutes.

After violin lessons, I had half-an-hour to get to choir practice.  Instead of going to my usual spot, I drove an extra ten minutes to get dinner at a drive-through to keep from scaring children or prompting the gag reflex.  I considered it a public service.

I ate in the car and dripped honey-mustard sauce on my t-shirt, but I made it to choir in time.

This choir is made up of women from the community.  We perform at the local university so publicity is important.  We took pictures last week in our concert black outfits.  I looked good for that...hair poofed to perfection, make-up on with no smears, nice black top and skirt.  But apparently the local newspaper wanted a photo during rehearsal.

Yeah. 

Can't wait to see the article and accompanying picture.  I just hope no one reads it while eating.

Until next time,
Becca


Saturday, June 21, 2014

Friends

Most of the time, I like the cards I make.  I wouldn't be sharing them with you if I didn't. Then--every once in a while--I surprise myself with a card I love.  Flat. Out. LOVE!  This is one of those cards.


Here's the supply list:

  • Stamps: CTMH Doodle Signs (chevron) and Designed Decor Frame Kit (sentiment)
  • Ink: CTMH Hollyhock pigment
  • Distress Stain: Tim Holtz Peeled Paint and Spun Sugar
  • Paper: CTMH Ariana
  • Accessories: doily, vellum paper, green thread, white sequins, CTMH Artiste Cricut Cartridge

To create the background stripe of chevrons, I started by drawing a faint pencil line across the paper to act as a guide. I then swiped Peeled Paint distress stain onto an acrylic block and stamped my chevron in it.  The stain puddled in some places and didn't cover in others, but that was the effect I intended. (Yes, every once in a while the sloppy things I do are on purpose from the beginning.)  When the chevrons dried, I swiped the Spun Sugar Distress Stain directly onto the paper.  The chevrons bled a little but not significantly.

The butterfly was cut with my Artiste Cricut cartridge at 1.5 inches.  My Explore lines everything at the top of the mat, so I placed my Ariana paper with the ZipStrip edge along the top a skosh--and I do mean a teensy, tiny skosh--below the top grid line of the mat.  Like the sloppy chevrons, this effect was planned from the beginning. (I'm tellin' ya, I was on a ROLL!)

I sewed everything down leaving all the threads hanging except those on the butterfly and the far right edge of the sentiment.

I am linking it up to Fusion and CAS(E) this Sketch since they inspired my jumping off point; however, I went more collage style than clean and simple.

Here's one of the reasons I love this card so much: It's for a very special lady who is leaving Fort Sill for a new duty assignment.  She has been an absolute joy to know and has forever changed me.  Whenever I entertain from now on, my guiding principle will be "What Would Mona Do?"  You can't walk into this woman's home without feeling treasured.  She lavishes love on her guests.  But, then again, she lavishes love on you if you see her in the Commissary, or at church, or at a coffee.

So, even though the deadline for my novella is rushing to meet me, I needed to take time to lavish a little love on my friend.

Until next time,
Becca

Friday, June 20, 2014

Love Note

This week over at Color My Heart, we are working with some lovely pastels: Blush, Cotton Candy, Crème Brulee, Sweet Leaf and Pear.


I mixed two stamp sets for this: Doodle Signs (Hostess Rewards) and Good Times (Cricut Artbooking Collection).  The sentiment was created using "love" from Doodle Signs and "note" from Good Times.  It's amazing the new phrases you can come up with by mixing words from different sets.

The torn note piece was cut with Artbooking and stamped with the coordinating paper lines from Good Times in Pear.  I used a large round sponge to add Crème Brulee over the top and did an extra bit of sponging along the edges.  The hearts were stamped and rolled to create the shading.  For the pink and green hearts, I did that by stamping in the lighter of the two challenge colors, Blush or Sweet Leaf, then rolling the edge of the stamp in Cotton Candy or Pear.  For the Crème Brulee hearts, I achieved the same effect by inking the heart, stamping off, and then rolling the edge in Crème Brulee again for a combined second generation and first generation image.

If you decide to join the fun over at Color My Heart, I challenge you to use two or three different stamp sets to come up with a fun, new phrase.  Be sure to tell us which sets you used to make it. 

Until next time,
Becca

Thursday, June 19, 2014

Fancy Feathers

Happy Thursday!  It's Becca with another Timberline post for DrPhilScraps.com.  I can't believe my term is almost over.  How did that happen???

Okay...enough misery from me.

I used the Feathers stamp set like I did a couple weeks ago.  In fact, the sponging on the June 5th card was done through the cut-out border on this card.


The multicolor feathers were created by making a custom stamp pad using baby wipes.  Cut two wipes in half and pile them to create four layers of thickness. Be sure to put them on something that won't leak through to your table.  (Yeah...go ahead and ask why I'm passing that tip along.)  Then drop reinker at random. I used Lagoon, Chocolate, and Goldrush. You don't have to use a lot or make the colors touch; just move your stamp around as you are inking up.  One of the great things about clear stamps is the ability to see if you've covered your image as you are doing this.

The "AWESOME" sentiment was inked in a portion of the custom ink pad that was mostly Chocolate.  After it dried, I used a white gel pen to highlight the words and arrow because I kinda got it wet and the colors bled.  (Yeah.)

After cutting out the feathers, I edged them in Ponderosa Pine.  I put a little more reinker on my baby wipes  and pressed the edges.  The 'give' of the four layers gave me a deeper edge than I would have gotten using a regular ink pad.

I assembled most of the layers (woodgrain background, cut-out border, doily, and feathers sewn down the center).  I put one drop of Ponderosa Pine reinker onto an acrylic block, added a couple drops of water, and used a paintbrush to flick it onto the card. (Yeah...about that...you might want to put it in a cardboard box or do this step outside.)

Because I like finished edges, I wrapped the doily and the Washi tape over the back of the woodgrain paper.  And, by sewing the feathers before adding the woodgrain to the cardbase, there are no messy threads showing on the inside of the card.

Despite the inherent mess (and the one I made by being an idiot), I really like the way this card turned out.

Until next time,
Becca
 Product List

Wednesday, June 18, 2014

Writer's World Wednesdays-Deadlines

I have figured out why it's called a deadline.  Because I just might be dead by the time I write the last line.

That is all.

Until next time,
Becca

Saturday, June 14, 2014

Borderline Funky

I discovered a new challenge blog today.  It's called STAMPlorations.  The month-long challenge for June is Stamps & Borders.  And one of my favorite challenge blogs is Less is More.  Their challenge this week is One Layer Cards: Off the Edge.  I pulled out an old CTMH set called Rock the Block and a technique using tools on my craft desk to create this:


The border was stamped in Crème Brulee ink and then colored in places using chalk.  (Remember chalk?  We used to do tons of things with it, but it's fallen out of fashion.  One of the fun things you can do is color dye base ink while it's still wet.  The chalk will stick to the ink and not the dry paper.  Well...mostly not to the dry paper.  Since I was going for the grunge look, I didn't worry too much about making it perfectly clean around the edges, though I did use a chalk eraser to clean up smudges.)

I then stamped a couple more circles above and below the straight line using a stand-alone stamp and colored them with chalk (purple circle and pinkish one at the far left).  Then I grabbed a LePlume Marker, a Sharpie pen, a glue stick, and a paint brush to create the rest of the circles.  I simply inked one end in pigment ink and stamped like I would a regular stamp.  I chose pigment ink for these additions because it would sit on top of the chalked surface and retain its color.

The sentiment is from Verve and was stamped in Chocolate pigment ink.

Something old, something new, nothing borrowed, but lots that's blue (to say I'm missing you).  Ha!  Maybe I should write poetry instead of fiction.

Until next time,
Becca

Thursday, June 12, 2014

Stick It To 'Em

Happy Thursday! It's Becca with another Timberline post for DrPhilScraps.com.  This week I played with paper and stickers. I went a little wild.


Although this may surprise some of you, stickers are designed to...well...stick!  Which means you'd better know exactly where you want to put them, or you will have a frustrating mess on your hands.  I'm sure there are people in this world who can visualize a page and put everything where they want the first time, but I'm not one of them.  My trick is to cut each sticker.  It's extra work but the results are worth it, especially when using this many.

The only extra cutting I did was on the banners hanging from the title on the top right.  Those were cut from one, long sticker. I snipped off sections, tucked them under the title, and changed a border strip to a banner cluster.

One simple trick + a little patience = no frustrating, sticky mess!

Until next time,
Becca

 Product List

Wednesday, June 11, 2014

Writer's World Wednesday-Multi-tasking

I’m writing this on the road.  Well, in the car which is driving on the road.  Don’t worry, my husband is at the wheel.  We are on our way to a marriage retreat for a few days.  My husband is a chaplain in the US Army and one of his jobs is helping to strengthen marriages among our soldiers.  It’s a daunting task as many of them (75%) come from broken homes.  Statistically, those who come from broken homes are more likely to divorce.  We’d like to give them a few ideas about how to avoid becoming part of that statistic.

It has become our joint passion.

My husband spends much of his work time counseling. I spend my days writing with the intent of exposing what I call “love lies” through fictional characters.  Together, we hope to impact marriages by communicating what true, true love is.

And so, even though I am feeling the pressure of a total rewrite with only twenty-nine days to go until deadline, I am in the car writing my Wednesday blog post while talking (intermittently) to hubby about the specifics of this retreat while trying to figure out a plot problem as the phone navigations system gets us to our destination.  Oh, and it would be helpful if I could work up a proposal for a new novella to submit by Monday.

Welcome to my world.

Until next time,
Becca

Friday, June 6, 2014

Mosaic Tile

This week for Color My Heart, we are using the colors Honey, Outdoor Denim, New England Ivy, and Olive.  I went back to a technique I learned years ago using snips of paper to create a mosaic tile effect.


Here's a close-up:

I simply snipped pieces of cardstock into small bits and glued them down. The trick is in having all your pieces cut and in the gluing.  I used the large-tip, two-way bonding glue.  I went in small sections, used every color making sure the same colors weren't clumped together, and covered the whole background letting pieces hang off the edge.  When all the pieces were securely affixed, I trimmed the sides before squirting Liquid Glass over the top and smearing it with my finger to cover the entire surface.  The Liquid Glass sealed the paper and covered the areas where the two-way glue was still exposed.

You must, must, must let it dry before you do anything else.  The paper may curl on you, but you can bend it back into shape after it dries.  Did you catch that?  LET IT DRY!!

To match the shine of the Liquid Glass, I used glossy paper for the top panel.

The best part of this card, in my opinion, is the quote.  Love it!

Until next time,
Becca

Thursday, June 5, 2014

Scraps and Feathers

Happy Thursday, everyone!  It's Becca with my second round of projects using Timberline for DrPhilScraps.com.  Only this time, instead of focusing on the stamps that come in the Workshop on the Go, I'll be using a couple of coordinating stamps.  This week, I pulled out Feathers.  If you haven't noticed, it's one of the hot trends in crafting now.

The background behind the feathers was done by using panel similar to the one on this card.  I sponged Lagoon ink through it and stamped my feather in Chocolate ink over top using a mask to stamp the left feather behind the right one.  The background behind the top panel is layers of Timberline paper placed about.  I'd like to take credit for coming up with this idea, but I must give credit where due.  The idea came from this card.

The scallop edge on the left side was rescued from a total mistake.  I was trying to make a mini photo album and ended up cutting the paper way too small. But this is why you save scraps and mistakes.  You never know when they will come in handy!

The only fussing I did was with the Lagoon Washi Tape.  It is normally the same width as the Chocolate Woodgrain Washi, so I trimmed it with scissors to vary the width create variation.

Is it just me, or did that funky feather become classy on this card?

Until next time,
Becca
 Product List