
I used several tricks, so I'll be providing pictures to help illustrate what I did.

This one is very straight-forward. I cut the two red hearts from Artiste, stamped the small Eggplant heart and Cocoa banner (trimmed down to just the part I wanted) from the Sangria WOTG, and layered it all together using glue and foam tape. The larger, folded Artiste cut heart has holes for threading a knot or bow, but they were too small for the twine. I simply tied a knot, frayed the ends for added "heft," and adhered it between the holes with Liquid Glass. The flower tucked inside the biggest heart comes with the Sangria WOTG.
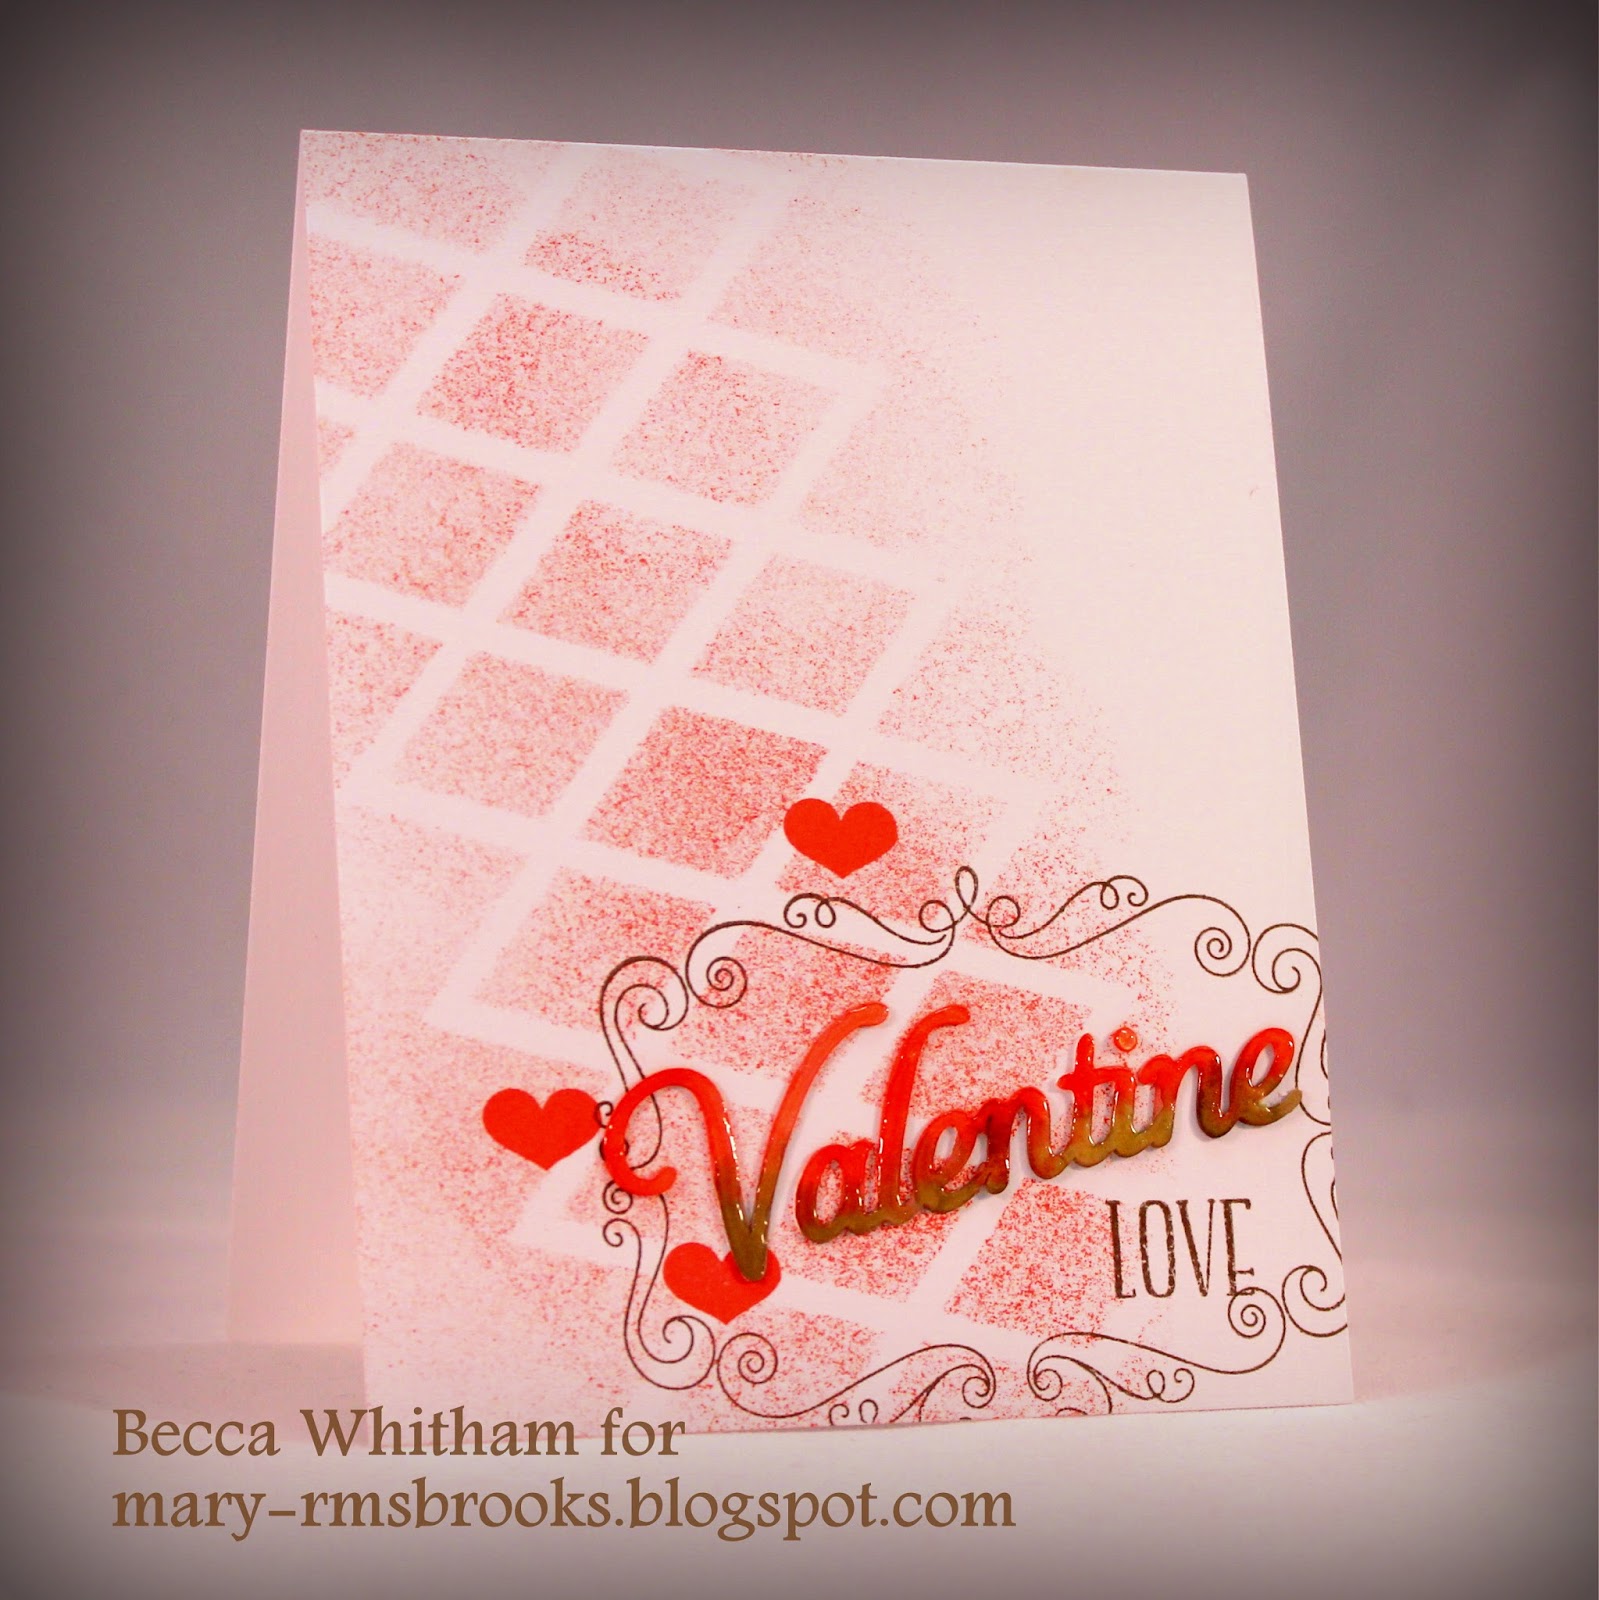
 I'm absolutely in love with that scrollwork frame. I'll be using it over and over and over again. This card uses a multitude of tricks, so let me break them down for you. The first is using masking tape to customize a sentiment. Let me give you some hard-earned advice: Don't forget to take off the tape before you stamp! If I'm going to use only one part of a sentiment repeatedly, I'll cut the stamp, but using tape like this works if you aren't brave enough to cut or want to keep the sentiment together for future use.
"Valentine" was cut with the Artiste cartridge, as was the mask for the background pattern (see below). I painted the sentiment with Coco and Poppy ink (I'll show you how in a moment), let it dry, affixed it to the card, and covered it with a layer of Liquid Glass. Voila! Instant puffy sticker in whatever color and quantity you want.
 Here is the mask I cut out of a plastic notebook divider. The image is half the length of what's shown. I used Design Space (Cricut Craft Room works, too) to copy and paste the image, line it up so the ends overlap, then weld the images together. I love creating custom masks like this. The darker blue you see is what the mask looks like. I laid it over top of what I cut out so you could see both. For the card, I sponged Poppy ink through the mask with a large, round sponge.
The final card uses the watercolor technique I used on this card, the "Valentine" sentiment above, and the leaves on the third card from my post two weeks ago. Before I show you that, let's talk about the tag. I sized the tag, stretched the width by "unlocking" the image and dragging the bottom down until I was happy, added the letters (from the Artiste alphabet) and "sliced" them into the tag. The "LOVE" was masked off just like I showed above and stamped in Poppy.
 To watercolor with ink, squeeze the lid and ink pad together before opening. You'll have a blob of ink in the lid. Add a small bit of water for deeper color, more water for paler color, and paint with a brush. I used a wide brush with Poppy and Eggplant ink for the background on this card. (The "Valentine" sentiment uses a fine-tip brush with Poppy and Cocoa; the leaves on the "Fall" card shown here were stamped on Sangria patterned paper in Cocoa then painted on one side only with watered down Eggplant ink to give the leaves a two-tone effect.)
- Stamps: Sangria WOTG (includes Poppy Thick Twine, Sangria Paper Pack, and Sangria Assortment)
- Cricut Cartridge: Artiste
- Ink: Eggplant, Poppy, Cocoa
- Accessories: Round Sponge, Liquid Glass, Foam Tape, Micro-tip Scissors, White Daisy Cardstock, Bonding Memories Glue
Be sure to check out Mary's October Card Kit, too. It features the Sangria paper, either a stamp set or embossing folder of your choice, and gives you some lovely Fall cards.
Until next time,
Becca
Great job, Becca! I enjoyed ALL of your beautiful cards!
ReplyDelete:) Marie
How sweet and simple are both of those cards?! NICE! Thanks for playing with us at Heart 2 Heart!
ReplyDeleteYou totally rock the CAS (with a bit of embellishment) look! I love how you played with the chevrons to make the heart pocket and how you sponged over your homemade mask. Thank you for explaining your techniques. Nothing drives me more crazy than to see something really cool and not be able to try it because the artist did not share and I can't figure out how they did it. Thanks also for reminding me how much fun liquid glass can be.
ReplyDeleteYour cards are all so pretty. Thank you for sharing with us at CASology this week!
ReplyDeleteWhat a wonderful collection of cards. I really love the little collage of hearts you submitted to CASology. Thanks so much for playing along.
ReplyDeleteWonderful cards, I love it! Super creative ideas here! Thanks for playing along with Heart 2 Heart Challenges (H2H)!
ReplyDeleteBrandi R
DT member H2H
crzy4scrapbooking.blogspot.ca