Showing posts with label DrPhilScraps DT. Show all posts

Thursday, June 26, 2014

Mix and Match

Happy Thursday!  It's Becca with my last post for DrPhilScraps.com.  So sad!  But I hope you will join me over at my blog for more inspiration and to follow my writing journey until publication in January.

For this last post, I pulled out everything I've received as a DrPhilScraps Design Team member and laid it on the floor.  There was a LOT!  The idea was to look at various elements with a fresh perspective in order to mix and match with the Camper Crazy stamp set.

Here's card number one:

The mixing here was done with stamp sets.  I used three of them: Balloon Ride WOTG (sentiment), Timberline WOTG (tire track, stick figures, and arrow), and Camper Crazy (camper...like you really needed that pointed out).  Then I threw in embellishments from here, there, and everywhere.

I used ProPlayer paper.  Although it's still in the current catalogue, it's not featured.  I don't know about you, but when I don't see something used in examples (either in the catalogue while blog hopping), it gets pushed to the back of my crafting consciousness and languishes.  Pulling everything out refreshes your memory.

The layout of this card is from the "Wishes" Card Confidence Program.  It's called "Right Design" in the 8" x 3.5" category.  My card is actually 4" x 9" to fit into a standard business envelope.  The only adjustment I made to the proportions listed was in the long, thin sentiment strip.  It's 6" x 1".

If you'd like to see another card that combines Camper Crazy with Timberline WOTG, click here.  In my humble opinion, you can't purchase one stamp set without the other!

****************************
My second card comes in two parts.  Let me tell you the technique first so you know what to observe.

The idea of mixing various paper packs together isn't new.  But you can also force papers to match with a little creativity.  This is particularly handy when you want to match colors from a paper pack that has a custom color. For example, Skylark paper has a trendy, almost neon green color in it.  Though I predict Skylark will show up in the Fall/Winter CTMH catalogue, it will be discontinued one day.  If you want that custom color, what do you do?

Make it!

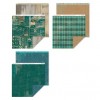
Here's Skylark and Timberline used together without altering the Timberline ZipStrip that has all the little words about camping printed on it.


And here it is again after I've altered the ZipStrip.


I used watercolor paints because they happened to be on my desk.  Another way would be to mix re-inkers like Honey and Pear then paint it over the paper.  You will get some curl in your paper, but let it dry, place it under a book overnight, then fasten it securely and all will be well.

Another way to alter the look of paper is to sponge or brayer over it.  The greyish tone of the woodgrain paper from Timberline could be warmed up with Honey, darkened with Chocolate, or tinted blue with Twilight.  The possibilities are endless.  Another way this technique comes in handy is when combining a white base paper with an off-white base paper.  Sponge or paint with a little Bamboo or Champagne and voila!

Before I go, my deepest thanks for allowing me to be a part of your crafty world for the past six months.  A special thanks to Dr. Phil for the honor of being a Design Team member.  As I hope you will join me on my blog (and want to know about my novella being published come January--wink, wink, nod, nod), I do not bid you good-bye, but leave you with my customary...

Until next time,
Becca

 Product List

Thursday, June 19, 2014

Fancy Feathers

Happy Thursday!  It's Becca with another Timberline post for DrPhilScraps.com.  I can't believe my term is almost over.  How did that happen???

Okay...enough misery from me.

I used the Feathers stamp set like I did a couple weeks ago.  In fact, the sponging on the June 5th card was done through the cut-out border on this card.


The multicolor feathers were created by making a custom stamp pad using baby wipes.  Cut two wipes in half and pile them to create four layers of thickness. Be sure to put them on something that won't leak through to your table.  (Yeah...go ahead and ask why I'm passing that tip along.)  Then drop reinker at random. I used Lagoon, Chocolate, and Goldrush. You don't have to use a lot or make the colors touch; just move your stamp around as you are inking up.  One of the great things about clear stamps is the ability to see if you've covered your image as you are doing this.

The "AWESOME" sentiment was inked in a portion of the custom ink pad that was mostly Chocolate.  After it dried, I used a white gel pen to highlight the words and arrow because I kinda got it wet and the colors bled.  (Yeah.)

After cutting out the feathers, I edged them in Ponderosa Pine.  I put a little more reinker on my baby wipes  and pressed the edges.  The 'give' of the four layers gave me a deeper edge than I would have gotten using a regular ink pad.

I assembled most of the layers (woodgrain background, cut-out border, doily, and feathers sewn down the center).  I put one drop of Ponderosa Pine reinker onto an acrylic block, added a couple drops of water, and used a paintbrush to flick it onto the card. (Yeah...about that...you might want to put it in a cardboard box or do this step outside.)

Because I like finished edges, I wrapped the doily and the Washi tape over the back of the woodgrain paper.  And, by sewing the feathers before adding the woodgrain to the cardbase, there are no messy threads showing on the inside of the card.

Despite the inherent mess (and the one I made by being an idiot), I really like the way this card turned out.

Until next time,
Becca
 Product List

Thursday, June 12, 2014

Stick It To 'Em

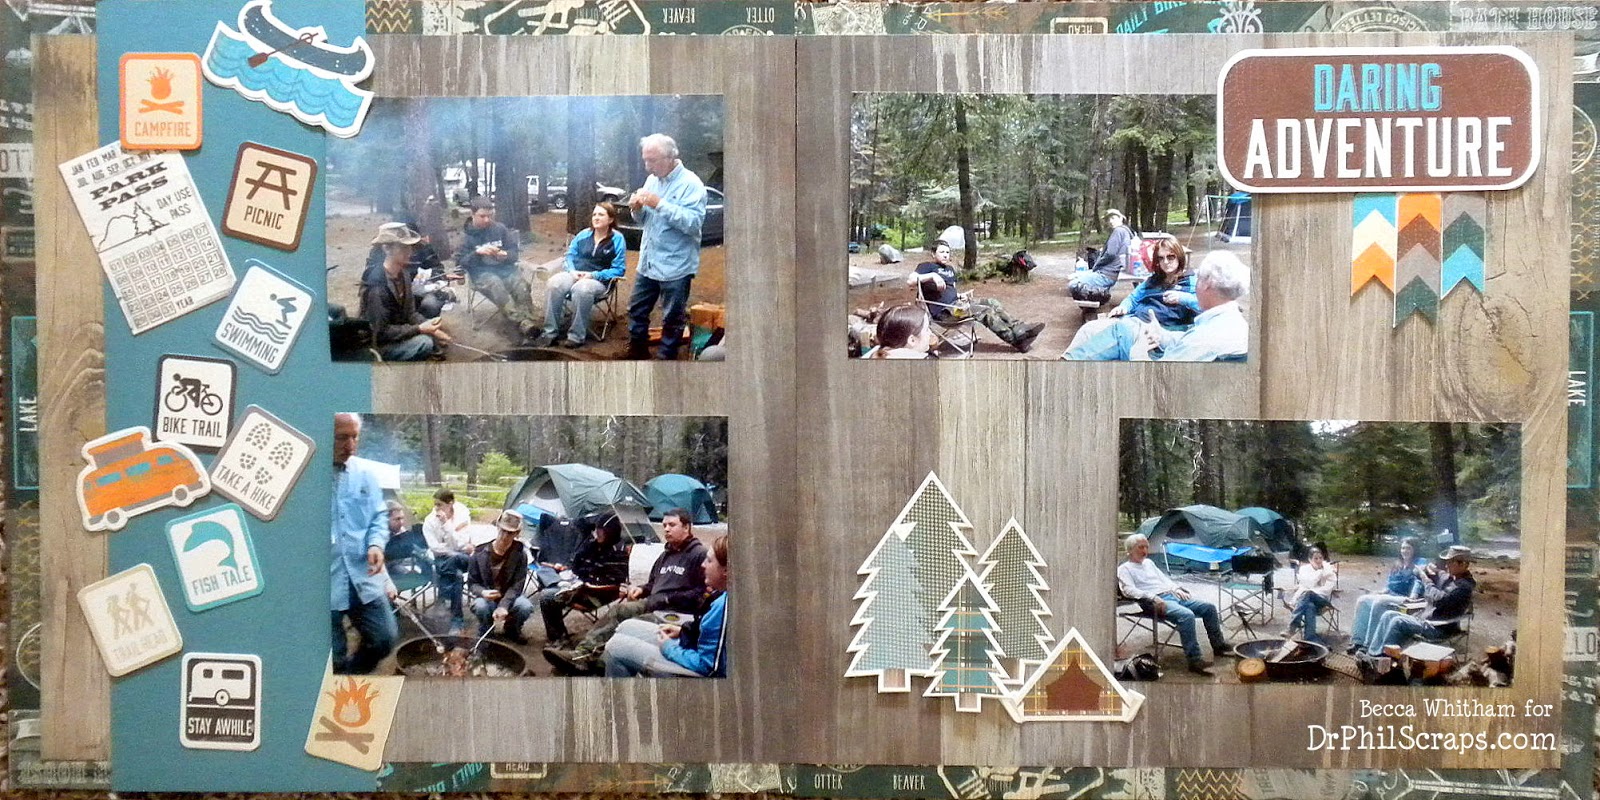
Happy Thursday! It's Becca with another Timberline post for DrPhilScraps.com.  This week I played with paper and stickers. I went a little wild.


Although this may surprise some of you, stickers are designed to...well...stick!  Which means you'd better know exactly where you want to put them, or you will have a frustrating mess on your hands.  I'm sure there are people in this world who can visualize a page and put everything where they want the first time, but I'm not one of them.  My trick is to cut each sticker.  It's extra work but the results are worth it, especially when using this many.

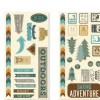
The only extra cutting I did was on the banners hanging from the title on the top right.  Those were cut from one, long sticker. I snipped off sections, tucked them under the title, and changed a border strip to a banner cluster.

One simple trick + a little patience = no frustrating, sticky mess!

Until next time,
Becca
 Product List

Thursday, June 5, 2014

Scraps and Feathers

Happy Thursday, everyone!  It's Becca with my second round of projects using Timberline for DrPhilScraps.com.  Only this time, instead of focusing on the stamps that come in the Workshop on the Go, I'll be using a couple of coordinating stamps.  This week, I pulled out Feathers.  If you haven't noticed, it's one of the hot trends in crafting now.

The background behind the feathers was done by using panel similar to the one on this card.  I sponged Lagoon ink through it and stamped my feather in Chocolate ink over top using a mask to stamp the left feather behind the right one.  The background behind the top panel is layers of Timberline paper placed about.  I'd like to take credit for coming up with this idea, but I must give credit where due.  The idea came from this card.

The scallop edge on the left side was rescued from a total mistake.  I was trying to make a mini photo album and ended up cutting the paper way too small. But this is why you save scraps and mistakes.  You never know when they will come in handy!

The only fussing I did was with the Lagoon Washi Tape.  It is normally the same width as the Chocolate Woodgrain Washi, so I trimmed it with scissors to vary the width create variation.

Is it just me, or did that funky feather become classy on this card?

Until next time,
Becca
 Product List

Thursday, May 29, 2014

Jubilee Bonanza

Happy Thursday, everyone.  It's Becca with my fourth and final Jubilee Workshop of the Go post for DrPhilScraps.com.  I decided to do another "what do you do with the stamps after the paper is (mostly) gone" post, so hang on tight because I did a bunch.

Sky cardstock, scraps of Jubilee paper, and selective stamping using a post-it note 
to mask of areas of two different stamps.
 Sunset, Topiary and Creme Brulee
Kraft card, Versamark and Black ink, another example of masking off parts of a stamp 
to create the saying you want, Chevron embossing folder, Topiary and Cranberry markers

On the scrapbook page, I made my glass by cutting the vase from p. 54 of Art Philosophy at 5.5" tall then trimmed off about an inch from the top...or bottom which I then flipped upside down.  I colored it with alcohol markers to add my drink.  I think everything else is pretty self-explanatory, but please leave a comment if you have any questions and I'll be sure to answer them.

Until next time,
Becca
 Product List